

Why Fluid Checks Matter More Than Most Drivers Realize
Your car's fluids do the unglamorous but essential work of lubricating moving parts, regulating temperature, transmitting force, and protecting components from corrosion. When any one of them drops too low or degrades, the damage that follows can be expensive — and sometimes permanent. The good news is that catching problems early is straightforward once you know what to look for.
Fluid checks are one of the simplest forms of preventive maintenance, and they cost nothing but a few minutes of your time. Staying on top of them is also one of the most effective ways to keep car ownership costs manageable over the long run. If a dashboard warning light is already on, our guide to what the check engine light is telling you can help you assess the situation.
Always Check Fluids on a Cold Engine
Opening the coolant reservoir cap or touching engine components while the engine is hot can cause serious burns. Let your car sit for at least 30 minutes after driving before checking coolant. Engine oil readings are also more reliable when the oil has had time to drain back into the pan.
What You'll Need Before You Start
No special equipment is required for basic fluid checks — just a few everyday items and your owner's manual. The manual is especially important because fluid reservoir locations and recommended fluid types vary significantly between makes and models.
What you will need
Clean rag or paper towels
Used to wipe dipsticks clean before taking a fluid reading.
Vehicle owner's manual
Identifies the correct fluid types, reservoir locations, and check intervals for your specific vehicle.
Flashlight or phone torch
Illuminates the engine bay to help locate reservoirs and read fluid levels accurately.
Nitrile gloves
Protects your hands from engine fluids, some of which can irritate skin.
How to Check Each Fluid, Step by Step
Work through each fluid type in order. You don't have to check every fluid every time — but doing a full sweep once a month gives you a reliable picture of your vehicle's health. If anything looks low or off, consult a qualified mechanic before topping it off, especially for brake and transmission fluid.
Park on a level surface and open the hood
Park on flat ground — a slope will throw off your dipstick readings. Turn the engine off and pop the hood. Most hoods have a release lever inside the cabin near the driver's knee, then a secondary latch under the hood lip. Prop the hood open with the support rod if your vehicle doesn't have a gas-assist hood.
Check the engine oil
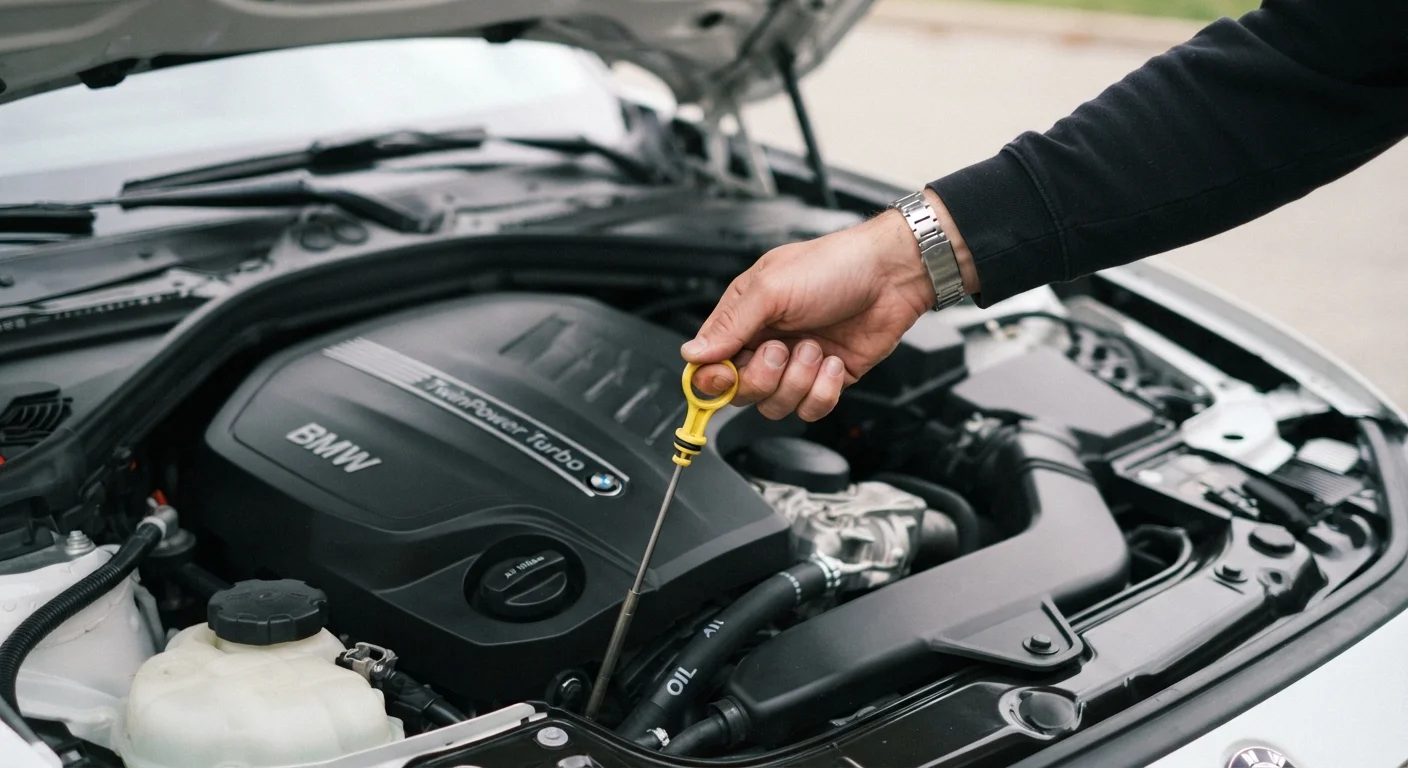
Find the oil dipstick — it typically has a brightly colored handle (yellow or orange) and is labeled with an oil-can icon. Pull it out, wipe it clean with your rag, reinsert it fully, then pull it out again. The oil should sit between the two marks at the bottom of the stick. Also note the color: oil that looks like clean honey or amber is fine. Oil that's very dark and gritty may be overdue for a change.
For more detail on what oil condition actually means, see our oil change myths guide.
Check the coolant level
The coolant reservoir is a translucent plastic tank, usually located near the radiator. You can read the level through the tank walls — there are MIN and MAX lines on the side. Do not remove the radiator cap when the engine is warm. If the level is low, only add the coolant type specified in your owner's manual, as mixing types can cause damage.
Check the brake fluid
The brake fluid reservoir is a small, semi-transparent plastic container near the back of the engine bay on the driver's side, typically connected to the brake master cylinder. Like coolant, you can usually read the level through the side without opening it — look for MIN and MAX markings. Brake fluid should appear clear to light yellow. Dark or murky fluid is a sign it may need attention from a mechanic.
Check transmission fluid (if applicable)
Many newer vehicles have a sealed transmission with no dipstick — check your owner's manual first. On vehicles with a transmission dipstick, the process mirrors the oil check: pull, wipe, reinsert, pull again. The fluid should be pinkish-red and translucent. If it's brown or smells burnt, have a mechanic inspect it. For automatic transmissions, some manufacturers recommend checking the fluid with the engine warm and running — your manual will specify.
Check power steering fluid and windshield washer fluid
The power steering reservoir (on vehicles without electric power steering) is usually a small capped container with a steering wheel icon. Like other reservoirs, it has MIN and MAX markings. Windshield washer fluid is the easiest check — a blue-capped tank that can be filled with any commercially available washer fluid. Don't substitute plain water long-term, as it can freeze in winter and doesn't clean as effectively.
Don't Ignore Brake Fluid Changes
Brake fluid absorbs moisture over time, which lowers its boiling point and can reduce braking effectiveness. If the fluid looks dark brown or the reservoir is significantly low, consult a qualified mechanic promptly. Do not top off brake fluid without identifying why it dropped — low brake fluid can indicate worn pads or a leak.
What to Do After Your Checks
If all fluids are within range and look clean, you're in good shape. Close the hood firmly until it latches. If you found a fluid that was low or discolored, note it down and address it promptly — either by topping off with the manufacturer-specified fluid or scheduling a visit with a mechanic. For anything brake- or transmission-related, a professional inspection is the safer call.
Making fluid checks a regular habit is also a great foundation for getting more out of your mechanic visits. Knowing your vehicle's history means you can describe issues clearly and ask informed questions — skills covered in our guide to getting the most out of every mechanic visit.
Make Fluid Checks Part of a Routine
Pairing fluid checks with a regular habit — like the first weekend of each month or every other fill-up — helps you catch problems before they grow. See our pre-trip safety check for other quick inspections worth building into your routine.
The content on this site is for informational purposes only and is not a substitute for professional advice. Always consult a qualified professional for guidance specific to your situation.