

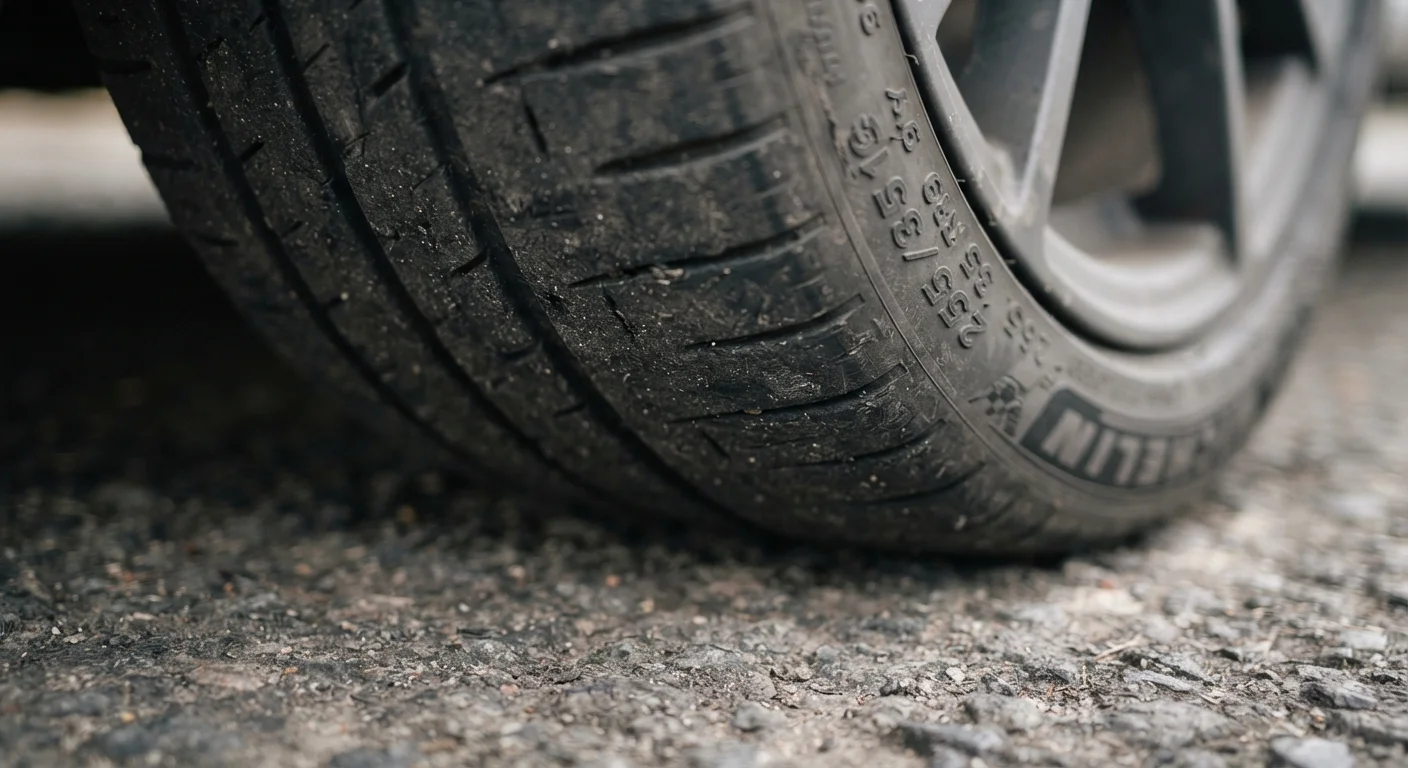
Why Tread Wear Patterns Are Worth Paying Attention To
Tires don't wear out uniformly by accident. The way rubber wears away from a tire is shaped by physics — how much air is in the tire, how the wheels are angled, how the suspension absorbs road forces, and how you brake and corner. Each pattern is your car's way of flagging something that deserves attention.
Ignoring unusual wear doesn't just shorten the life of the tire. It often means an underlying mechanical issue — misalignment, worn shocks, a faulty caliper — continues to get worse. As we cover in why skipping small repairs tends to create bigger ones, deferred maintenance rarely stays contained. A $75 alignment can prevent a $600 set of tires from wearing out in 15,000 miles instead of 50,000.
You don't need a mechanic's eye to spot the basic patterns. A few minutes in your driveway, a penny, and a pressure gauge are enough to tell you whether your tires are wearing normally or pointing to a problem.
What you will need
What You'll Need
The tools for this inspection are minimal. Here's what to have on hand before you start:
Penny or Quarter
Used to perform a quick coin test to estimate remaining tread depth without any special equipment.
Tire Pressure Gauge
Measures tire inflation to help determine if over- or under-inflation is contributing to uneven wear.
Tread Depth Gauge
Provides a more precise tread depth measurement than the coin method, useful for tracking wear over time.
Flashlight or Worklight
Helps you see tread detail clearly, especially on darker tires or in shaded areas.
Once you have these together, follow the steps below to inspect each tire and interpret what you find.
Park on a flat surface and gather your tools
Find a flat, well-lit spot — a driveway or parking lot works fine. You'll need a penny, a tire pressure gauge, and ideally a flashlight. Make sure the engine is off and the parking brake is set before you crouch near any tire.
Check tread depth with the penny test
Insert a penny into the tread groove with Lincoln's head pointing down into the tire. If you can see the top of Lincoln's head, the tread is at or below 2/32 of an inch — the point at which most safety experts and state laws say the tire should be replaced. For more margin, use a quarter: if Washington's head is partially covered, you still have at least 4/32 of an inch remaining.
Check several grooves across the width of each tire, not just one spot. Uneven readings across the width indicate a wear pattern worth investigating.
Identify the wear pattern on each tire
Look at where the wear is concentrated and compare it to these common patterns:
- Center wear: Tread worn more in the middle than the edges suggests the tire has been consistently over-inflated.
- Edge wear (both sides): Wear on both outer edges, with the center still raised, is a classic sign of chronic under-inflation.
- One-sided wear: Heavy wear on just one edge — inner or outer — usually points to a wheel alignment problem or worn suspension components.
- Cupping or scalloping: A wavy, uneven surface across the tread often means worn shocks or struts, or an out-of-balance tire.
- Patchy or flat-spot wear: Isolated flat spots can result from hard braking that locked the wheels, or from a vehicle sitting stationary for an extended period.
Check your tire pressure
Remove the valve cap from each tire and press your pressure gauge firmly onto the valve stem. Compare the reading to the recommended PSI printed on the sticker inside your driver's door jamb — not the maximum PSI molded into the tire's sidewall, which is a different figure. Adjust pressure as needed using an air pump.
For more detail on how pressure affects tread life and handling, see our guide on tire pressure and its impact on safety.
Decide what action the wear pattern requires
Once you've identified the pattern, match it to the appropriate next step:
- Over- or under-inflation wear: Correct the pressure and monitor. If wear is already uneven, schedule a rotation.
- One-sided wear: Book an alignment check with a mechanic.
- Cupping or scalloping: Have your suspension inspected — specifically shocks, struts, and wheel balance.
- Flat spots: Usually self-correct after a few miles of driving; if they persist, have the tire inspected.
- At or near the wear indicators: Replace the tire before driving further on wet or slick roads.
Schedule a rotation if overdue
Front and rear tires wear at different rates depending on whether your vehicle is front-, rear-, or all-wheel drive. Most manufacturers recommend rotating tires every 5,000 to 7,500 miles. Regular rotation helps wear distribute evenly across all four tires, extending their overall lifespan. Check your owner's manual for your specific vehicle's interval.
After the Inspection: Keeping Wear in Check
Tread wear inspection isn't a one-time task — it's worth doing every month and before any long road trip. Pair it with a quick visual scan of your lights and fluid levels, as outlined in our pre-trip safety check guide.
Check All Four Tires, Not Just One
Wear patterns can differ from corner to corner, and each variation tells a different story. Spend two minutes walking around the car and visually inspecting each tire before drawing conclusions. A single worn tire might reflect a localized issue — like a stuck brake caliper — rather than a vehicle-wide alignment problem.
Abnormal wear patterns are rarely isolated. A vehicle pulling to one side, vibrating at highway speeds, or making unusual noises while braking can all connect back to tire and suspension health. If you notice grinding or pulsing when you stop, our article on brake noises and what they mean explains what those sounds typically indicate.
Don't Drive on Dangerously Worn Tires
When tread depth reaches 2/32 of an inch — the legal minimum in most U.S. states — stopping distances increase significantly, especially on wet roads. If the wear indicators are flush with the tread surface, the tire needs to be replaced before you drive further. No maintenance tip or rotation schedule can fix a tire that's already beyond safe limits.
Consistent pressure checks, timely rotations, and a professional alignment check every year or two are the simplest things you can do to get the most life out of every set of tires — and to keep your stopping distances where they should be.
The content on this site is for informational purposes only and is not a substitute for professional advice. Always consult a qualified professional for guidance specific to your situation.